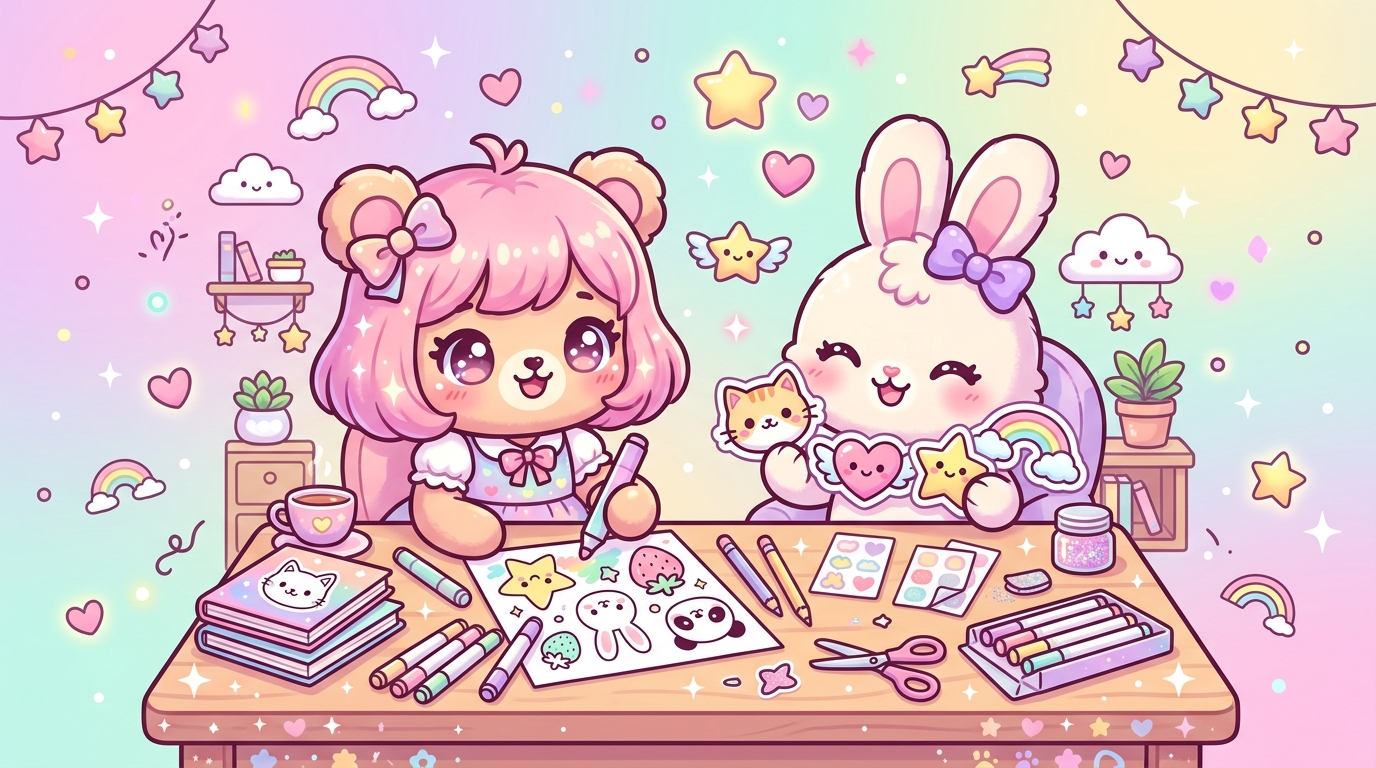
Coloring pages that come to life: The art of creating your own kawaii stickers
Have you spent hours coloring your favorite little characters, choosing the softest pastel pink shades, and adding glitter to the cheeks of your imaginary creatures? Your drawings are so adorable that they deserve to leave your notebook and invade your daily life! Why settle for just admiring them on paper when you can easily create kawaii stickers to decorate your planner, laptop, or letters to friends?
The world of Japanese stationery is fascinating, but it is even more rewarding to make your own accessories. Transforming a simple kawaii sticker coloring page into a shiny, durable sticker is a creative project accessible to everyone. Whether you are a budding artist or a DIY enthusiast, let yourself be guided on this colorful adventure to personalize your world with a touch of absolute "cuteness"!
The magic starts here: Choosing and preparing your designs
Before you dive into the making process, it is essential to choose the drawings that will become your future stickers. In the kawaii universe, it's all about curves, big expressive eyes, and cheerful colors. Here is how to select the best candidates for your DIY kawaii stationery project.
Selecting the perfect drawings for your stickers
Not every coloring page is suited for sticker making. For the best results, prioritize motifs with clean lines and simple shapes. Here are a few tips to help you choose:
- Simplicity first: Rounded shapes, such as smiling little clouds, chubby cats, or kawaii treats, are easier to cut out.
- Contrast: Make sure the outlines of your drawing are dark and bold so they stand out perfectly once transformed.
- Size matters: Consider the final use. If you want to decorate a phone, opt for small motifs (3 to 5 cm). For a diary, you can go for larger stickers.
Preparing your creations for a perfect print
If you created your coloring pages on standard paper, the first step is to digitize them. Use a scanner or a scanning app on your smartphone to get a clear image. If you prefer to work digitally, make sure to set your resolution to 300 DPI for professional quality. Once your drawings are ready, you can assemble them on an A4 page to optimize your adhesive paper.
"The secret to a successful sticker lies in the clarity of the contours: the sharper your lines, the more your sticker will have that 'boutique' look we all love!"
The survival kit for making professional-grade homemade stickers
You don't need an industrial machine to make homemade stickers. With a few well-chosen supplies, you will achieve results worthy of the best Tokyo stationery shops. Here is the list of essential materials to make your project a success.
The essential gear to keep in your pencil case
- Adhesive sticker paper: It comes in matte, glossy, or even holographic versions for a magical effect.
- Cold laminating paper (or wide clear adhesive tape): This is the crucial step to protect your creations from moisture and scratches.
- Precision scissors: Essential for cutting the delicate curves of your kawaii characters.
- Inkjet printer: If you are working from your digital or scanned coloring pages.
- Cutting mat and precision craft knife: For those who prefer a clean and quick cut.
Why lamination is your best friend
Never neglect the protection step! A sticker that isn't laminated will eventually get damaged over time. By adding a layer of protective film over your kawaii sticker coloring page, you give it a glossy finish, splash resistance, and increased durability. This is the little detail that makes all the difference between a simple glued drawing and a true stationery accessory.
Step-by-step guide: From paper sheet to sticker sheet
Now that you have all your materials, it's time to take action! Follow these simple steps to create kawaii stickers that will make your friends green with envy.
Step 1: Coloring and composition
Use your alcohol markers, colored pencils, or graphics tablet to bring your characters to life. Once colored, arrange your drawings in your word processing or design software (like Canva or Word), leaving a small space between each motif to make future cutting easier.
Step 2: Printing and protection
Print your sheet onto the adhesive paper. Let the ink dry for a few minutes. Then, carefully apply your laminating film (or wide strips of clear adhesive tape) over the entire surface of the sheet. Smooth it out well with a ruler or a rigid card to avoid air bubbles.
Step 3: Precise cutting
This is the step that requires patience! Take your precision scissors and cut out your stickers. You have two options:
- Edge-to-edge cutting: Follow the exact outline of the drawing for a minimalist effect.
- Cutting with a white border: Leave a thin white margin around the drawing ("die-cut" style), a timeless classic of DIY kawaii stationery.
A world of cuteness at your fingertips
Congratulations! You have just transformed your coloring pages into a collection of unique stickers. Whether you use them to decorate your journal, personalize gifts, or simply collect them, know that you have created something special. Each sticker is a little bubble of happiness that you crafted yourself.
The best part about this adventure is that you can constantly refresh your stock. Don't hesitate to vary the themes throughout the seasons: little bunnies for spring, kawaii ice creams for summer, or smiling pumpkins for autumn!
Want to get started right now? Discover our huge selection of kawaii coloring pages on our site. Hundreds of adorable designs are just waiting for your pencils to become the future heroes of your personalized sticker sheets. Express your creativity, have fun, and above all, keep spreading sweetness around you with your own creations!