Hey there, friends! Have you always dreamed of bringing your kawaii characters to life with eyes that sparkle with joy and emotion? You've come to the right place! Kawaii eyes are the key to transforming a simple drawing into an adorable creation. And guess what? Learning to color them is easier than it seems! Get your pencils ready, we're diving together into the magical world of kawaii eyes coloring and we're going to give your artistic talents a boost!
✨ Kawaii Eyes: More Than Just a Look, a Love Story! ✨
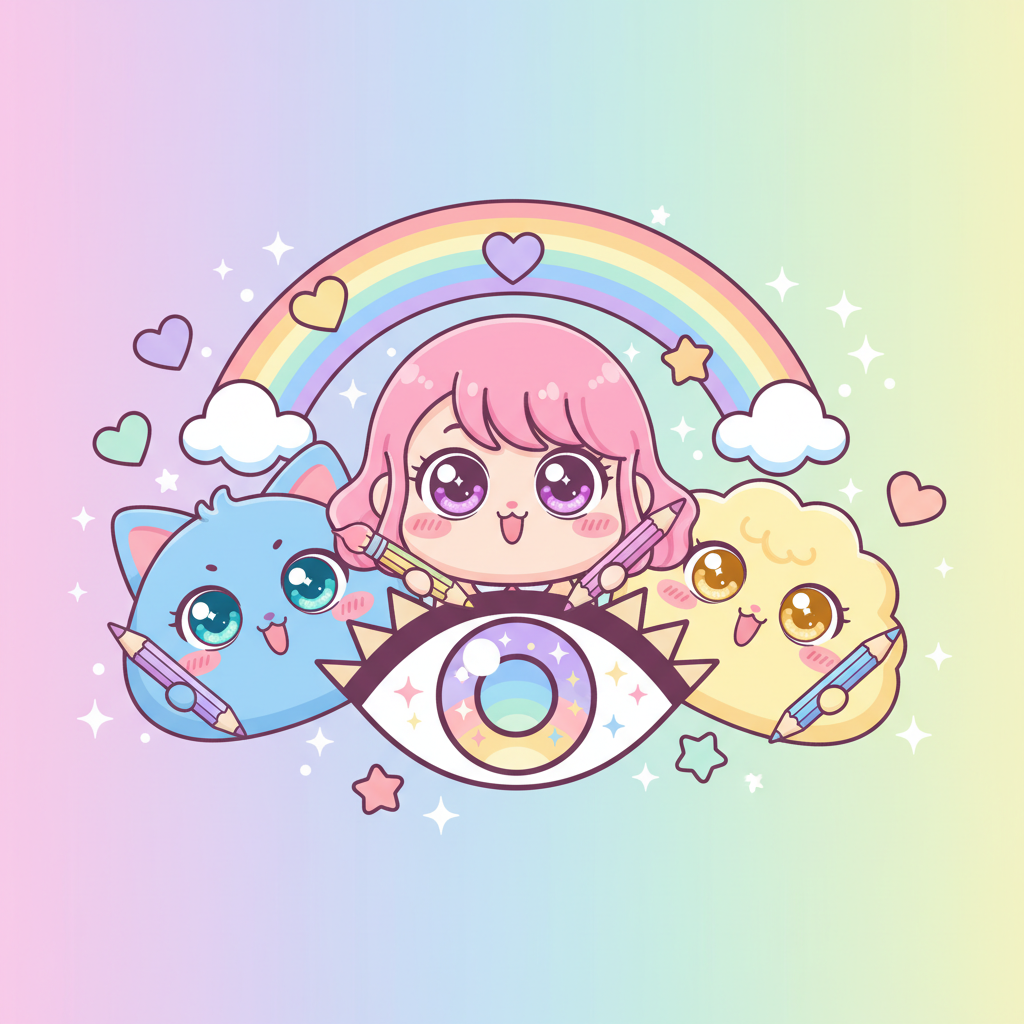
But why are kawaii eyes so important, you ask? Well, imagine: they are the windows to the soul, but in a super cute version! They convey emotion, innocence, joy of life... In short, everything that makes a character irresistibly kawaii. A simple change of color, a well-placed reflection, and presto! Your drawing comes to life before your astonished eyes.
Shapes That Make You Fall in Love: Small Eyes, Big Impact!
One of the secrets of kawaii eyes lies in their shape. There are a multitude of them, each bringing a unique touch to your character:
- Round eyes: Perfect for an innocent and childlike look. Imagine a soft little animal with big round eyes... Adorable, right?
- Almond-shaped eyes: They bring a touch of mystery and elegance. Ideal for characters that are a little more mature, but still adorable.
- Crescent-shaped eyes: Often used to express joy and enthusiasm. They give the impression that the character is always smiling.
- Eyes with large reflections: This is THE detail that makes kawaii eyes so special! Reflections bring shine and depth, giving the impression that the eyes sparkle with life.
Feel free to experiment with different shapes and proportions to find the style that suits you best. The important thing is to have fun and let your creativity run wild!
🎨 The Kawaii Colorist's Arsenal: Choose Your Weapons! 🎨
To bring your kawaii eyes coloring to life, you'll need the right equipment. Here's a quick overview of the most popular tools, with their advantages and disadvantages:
- Colored pencils:
- Advantages: Precision, wide range of colors, possibility of creating subtle gradients.
- Disadvantages: Can be a bit long to color large areas, requires a good pencil stroke to avoid marks.
- Brand recommendation: Faber-Castell Polychromos, Prismacolor Premier.
- Felt-tip pens:
- Advantages: Bright and intense colors, ideal for quick flat washes.
- Disadvantages: Can be difficult to create gradients, watch out for smudges.
- Brand recommendation: Copic Ciao, Tombow ABT Dual Brush Pen.
- Markers:
- Advantages: Very pigmented colors, ideal for professional illustrations.
- Disadvantages: More expensive than pencils or felt-tip pens, requires good mastery of the technique.
- Brand recommendation: Ohuhu, Winsor & Newton Promarker.
- Watercolors:
- Advantages: Effects of transparency and lightness, ideal for creating soft and poetic atmospheres.
- Disadvantages: Requires water and suitable paper, can be a bit difficult to master at first.
- Brand recommendation: Winsor & Newton Cotman, Sennelier L'Aquarelle.
The choice of material will depend on your personal preferences and the style you want to adopt. Feel free to test different tools to find the ones that suit you best!
🖌️ Basic Techniques: Learn to Color Like a Pro! 🖌️
Now that you have your equipment, let's move on to coloring techniques! Here are some essential basics for creating beautiful kawaii eyes coloring:
Flat Wash: The Solid Base of Your Work
The flat wash consists of coloring a surface uniformly, without gradient or variation of color. It is the ideal technique for beginners and for areas that require an intense and uniform color.
Gradient: Smooth Transition to Perfection
The gradient consists of gradually transitioning from one color to another. This is an essential technique for creating depth and volume in your drawings. For a nice gradient, start by coloring the lightest area lightly, then gradually layer darker colors.
Light Shading: Subtle and Effective
Light shading consists of adding subtle shadows to give relief to your drawing. Use a color slightly darker than the base color and apply it delicately to areas that would naturally be shaded (for example, under the upper eyelid).
✨ Advanced Techniques: Make Your Kawaii Eyes Shine! ✨
Want to take it to the next level? Here are some advanced techniques to make your kawaii eyes coloring even more realistic and expressive:
Dazzling Reflections: The Touch of Magic
Reflections are essential to give shine and depth to the eyes. To create realistic reflections, observe photos of eyes and try to reproduce the shape and position of the reflections. In general, a large white reflection is placed in the upper corner of the eye and one or two smaller reflections in the rest of the iris.
Subtle Glitters: The Secret of the Pros
Glitters are small areas of light that add subtlety and realism to your drawing. Use a white pencil or a white felt-tip pen to create small glitters on the iris and on the pupil.
Expressive Eyelashes: Frame the Look with Style
Eyelashes can make all the difference in the expression of a character. Vary the length, thickness and curvature of the eyelashes to create different effects. Feel free to add a few lower lashes for a softer and more innocent look.
🎭 Express Your Emotions: Eyes That Speak! 🎭
One of the most fun aspects of kawaii eyes coloring is the ability to express different emotions through colors and techniques. Here are some ideas:
- Joy: Use bright and luminous colors, such as pink, yellow or turquoise. Add large, bright reflections and eyelashes curved upwards.
- Sadness: Use darker and more muted colors, such as dark blue, gray or purple. Slightly lower the corners of the eyes and add a few drooping eyelashes.
- Surprise: Open your eyes wide and use contrasting colors, such as black and white. Add a large white reflection in the center of the iris.
- Anger: Use warm and intense colors, such as red or orange. Frown and draw pointed eyelashes.
🖍️ Step-by-Step Tutorial: Become a Master of Kawaii Eyes! 🖍️
Ready to put everything you've learned into practice? Follow this step-by-step tutorial to color a realistic kawaii eye with colored pencils:
- Step 1: Draw the shape of the eye. Start by sketching the general shape of the eye, taking into account the shape of the iris and the pupil.
- Step 2: Color the base of the iris. Choose a base color for the iris and color it uniformly.
- Step 3: Add gradients. Use a darker color to create a gradient from the outer edge of the iris towards the center.
- Step 4: Create reflections. Draw a large white reflection in the upper corner of the eye and one or two smaller reflections in the rest of the iris.
- Step 5: Draw the eyelashes. Add expressive eyelashes by varying the length, thickness and curvature.
- Step 6: Add details. Use a white pencil or a white felt-tip pen to add subtle glitters on the iris and on the pupil.
(Add images or a video here to illustrate each step)
⚠️ Pitfalls to Avoid (and Pro Tips!) ⚠️
For absolutely perfect kawaii eyes coloring, here are some mistakes to avoid and some pro tips:
- Mistake to avoid: Using colors that are too pale or too dull.
- Pro tip: Dare to use bright and luminous colors! Feel free to experiment with different color combinations to find the one that best suits your character.
- Mistake to avoid: Neglecting shading.
- Pro tip: Shading is essential to give relief and volume to your drawings. Take the time to observe photos of eyes and reproduce the shadows realistically.
- Mistake to avoid: Forgetting the details.
- Pro tip: Small details, such as reflections, glitters and eyelashes, can make all the difference in the expression of a character. Don't hesitate to spend time refining these details for an optimal result.
🌈 It's Your Turn, Kawaii Artist! 🌈
So, ready to transform your drawings with adorable kawaii eyes coloring? Remember, the key to success lies in practice and experimentation. So, grab your pencils, let your creativity run wild and share your creations with us! We can't wait to see your magnificent works of art! And to help you get started, we're offering you a free download of kawaii eye templates to color. Have fun!
And if you liked this guide, don't hesitate to explore our other kawaii coloring pages for even more inspiration and fun! We have plenty of adorable models just waiting for your colors!