Welcome, fellow budding artists, to the wonderful and colorful world of kawaii! Today, we're tackling an essential element of any self-respecting kawaii character: the eyes! A well-colored gaze is the key to bringing your creations to life and making them absolutely irresistible. Get your pencils ready, we're going to learn how to color kawaii eyes like pros!
✨ The Secret of a Kawaii Gaze: Why Eyes Are So Important ✨
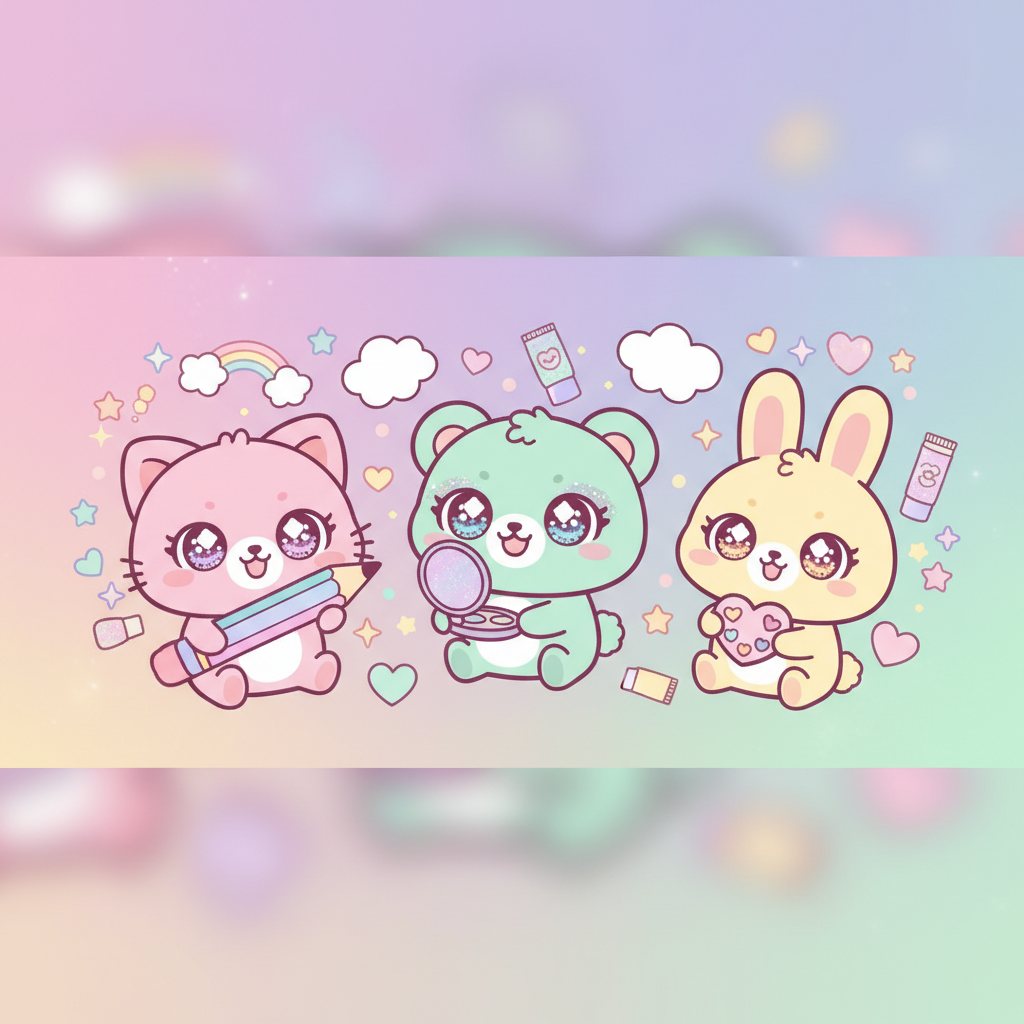
In kawaii art, eyes are more than just a detail. They are the mirror of the soul (even if our little characters don't really have one, that's the idea!). Large expressive eyes, sparkling reflections, vibrant colors... Everything contributes to creating an instant "aww" effect. Learning to master eye coloring is therefore the first step towards creating unforgettable kawaii characters. This kawaii eyes tutorial will guide you step by step!
👁️ Discover the Cute Anatomy of Kawaii Eyes 👁️
Basic Shapes: Circles, Almonds... and Lots of Love!
Kawaii eyes come in several shapes, but the most common are:
- The perfect circle: Ideal for an innocent and childlike look.
- The almond: For a softer and more dreamy look.
- The semicircle: Often used for characters who are surprised or amazed.
Ideal Proportions: Bigger, Cuter!
In general, kawaii eyes are disproportionate to the rest of the face. The bigger they are, the more guaranteed the cute effect! Don't hesitate to exaggerate the proportions for an even more adorable result.
Kawaii Variations: From Bright Eyes to Dreamy Eyes
The variations are endless! You can add long, thick eyelashes, star-shaped reflections, arched eyebrows... Let your imagination run wild! Here are some ideas:
- Bright eyes: With large white reflections for a sparkling effect.
- Dreamy eyes: Fewer details, a softer and more vague look.
- Expressive eyes: Marked eyebrows and a clearly visible pupil to show emotions.
🎨 Your Kawaii Coloring Kit: Choose Your Weapons! 🎨
Colored Pencils: The Timeless Classic
Advantages: Easy to use, allows you to create subtle gradients, ideal for beginners. Disadvantages: Less intense than felt-tips or markers, can leave marks if you press too hard.
Felt-Tips and Markers: Bright and Vibrant Colors
Advantages: Intense colors, ideal for flat areas of color, allows you to create strong contrasts. Disadvantages: More difficult to master for gradients, can bleed on certain papers.
Watercolors: For a Soft and Vaporous Effect
Advantages: Allows you to create effects of transparency and lightness, ideal for subtle gradients. Disadvantages: Requires a certain amount of know-how, can be difficult to master for precise details.
The Essential Colors: Skin Tones and Bright Irises
To color kawaii eyes realistically (while remaining kawaii, of course!), you will need:
- Different skin tones: From light beige to dark brown for shading.
- Bright iris colors: Blue, green, purple, pink... Don't hesitate to use original colors!
- White: For reflections and highlights.
- Black: For outlines and pupils.
🖌️ Master the Basic Techniques: Become a Kawaii Coloring Pro 🖌️
Gradients: From Light to Dark, All in Softness
The gradient is an essential technique for giving volume to your kawaii eyes. Start by applying a light color to the entire surface, then gradually add darker shades towards the top and sides.
Shading: Create Depth
Shading creates an illusion of depth and relief. Apply a darker color under the upper eyelid and on the sides of the eye.
Light Reflections: The Spark That Makes the Difference
Light reflections are essential to bringing your kawaii eyes to life. Add one or more white highlights to the iris, at the top and to the left or right of the pupil. You can also add a small reflection on the lower eyelid.
Practical Exercises: Practice, Practice, Practice!
To master these techniques, there's nothing like practice! Draw several pairs of kawaii eyes and experiment with different colors and techniques. Don't be afraid to make mistakes, practice makes perfect!
🌟 Level Up: Advanced Techniques for a Stunning Result 🌟
Textures: Add Relief to Your Colorings
You can use different techniques to create interesting textures on the iris. For example, you can use a darker colored pencil to draw fine radial lines, or use a fine felt-tip pen to create small dots.
Depth: Play with Colors and Shadows
To create an impression of depth, use darker colors at the back of the eye and lighter colors at the front. You can also add a slight shading to the white of the eye to give it more volume.
Complex Light and Shadow Effects: A Professional Rendering
For a truly stunning rendering, don't hesitate to experiment with more complex light and shadow effects. For example, you can add a colored reflection to the iris using a color complementary to that of the iris.
🛑 Avoid the Pitfalls: Mistakes to Avoid 🛑
Flat Colors: Give Relief to Your Colorings
Avoid using uniform colors without gradients or shading. This will give your kawaii eyes a flat and lifeless appearance.
Incorrect Shading: A Guaranteed Bizarre Look
Be careful to place your shading correctly so as not to deform the eye. The shading should follow the shape of the eye and be darker in places where the light does not directly hit.
Misplaced Reflections: A Strange Look
Reflections should be placed consistently with respect to the light source. If they are misplaced, they will give your character a strange and artificial appearance. This kawaii eyes drawing must be perfect!
🌈 Get Inspired: Kawaii Eye Coloring Styles for All Tastes 🌈
Bright Eyes: The Spark of Cuteness
Bright eyes are a classic of the kawaii style. They are characterized by large white reflections and bright and vibrant colors.
Dreamy Eyes: Sweetness Incarnate
Dreamy eyes are softer and less detailed. They are characterized by a vague look and a melancholic expression.
Expressive Eyes: Show Your Emotions!
Expressive eyes are ideal for showing your character's emotions. They are characterized by marked eyebrows, a clearly visible pupil and intense colors.
You'll find lots of kawaii eyes tutorial videos on Youtube to inspire you!
🎉 It's Your Turn! Become a Master of Kawaii Coloring 🎉
There you go, you now have all the keys in hand to color kawaii eyes like a pro! Don't hesitate to practice regularly and experiment with different techniques and colors. The most important thing is to have fun and let your creativity run wild! Share your creations on social networks with the hashtag #KawaiiColoring and inspire other budding artists!
To help you get started, I'm offering you a kawaii eyes template to color and a recommended color palette. Download them for free here!
And if you like kawaii coloring, don't hesitate to explore our collection of magnificent coloring drawings on our site! You will find adorable characters, fairytale landscapes and many other surprises! Let your imagination run wild and dive into a world of colors and cuteness!